Platform
You can utilize the various features of the extension in two different ways, both of which perform the same actions. One approach is by clicking on the Fluid Attacks icon, and the other is detecting Files with vulnerabilities marked by red dots. Within the tool, you'll have access to the following functions:
Platform features through IDE
File and code line
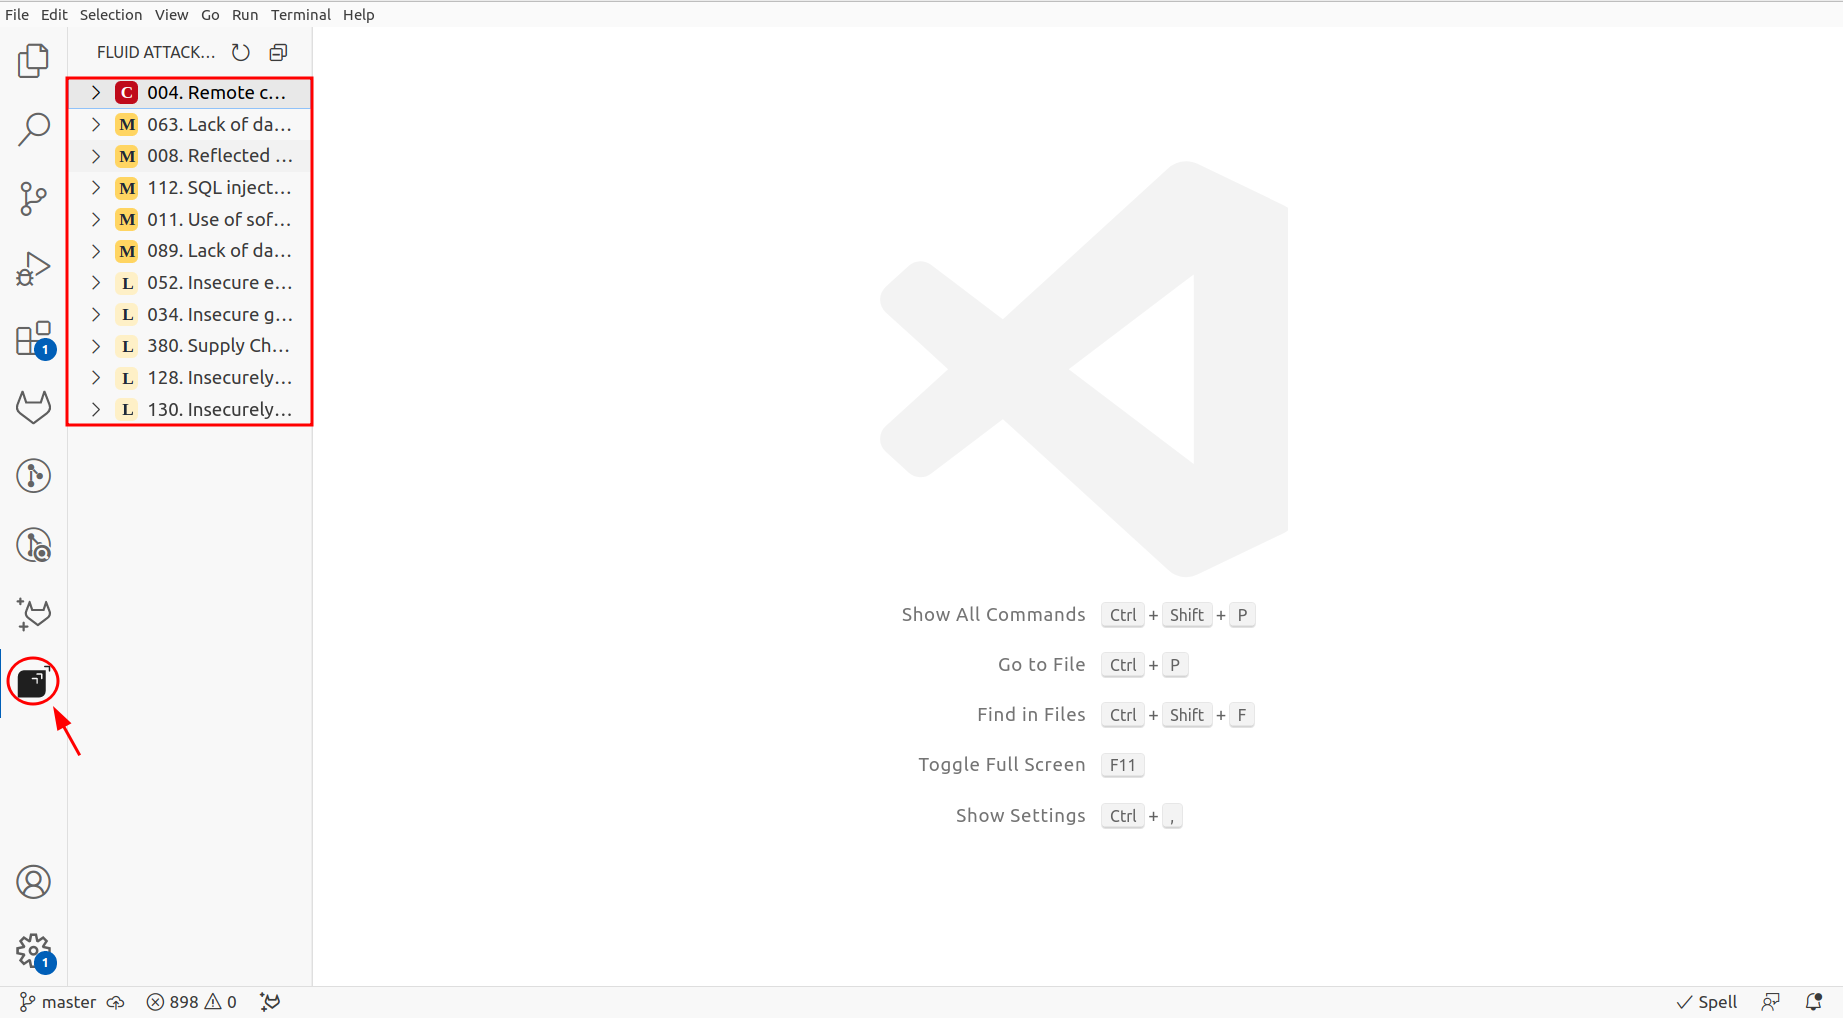
The current feature makes it easier to view vulnerabilities reported in the Fluid Attacks platform from the editor. By clicking on the Fluid attacks icon, you should perform the following actions:
-
Upon clicking the Fluid Attacks extension icon, you will be presented with a comprehensive list of vulnerability types detected in your code.
-
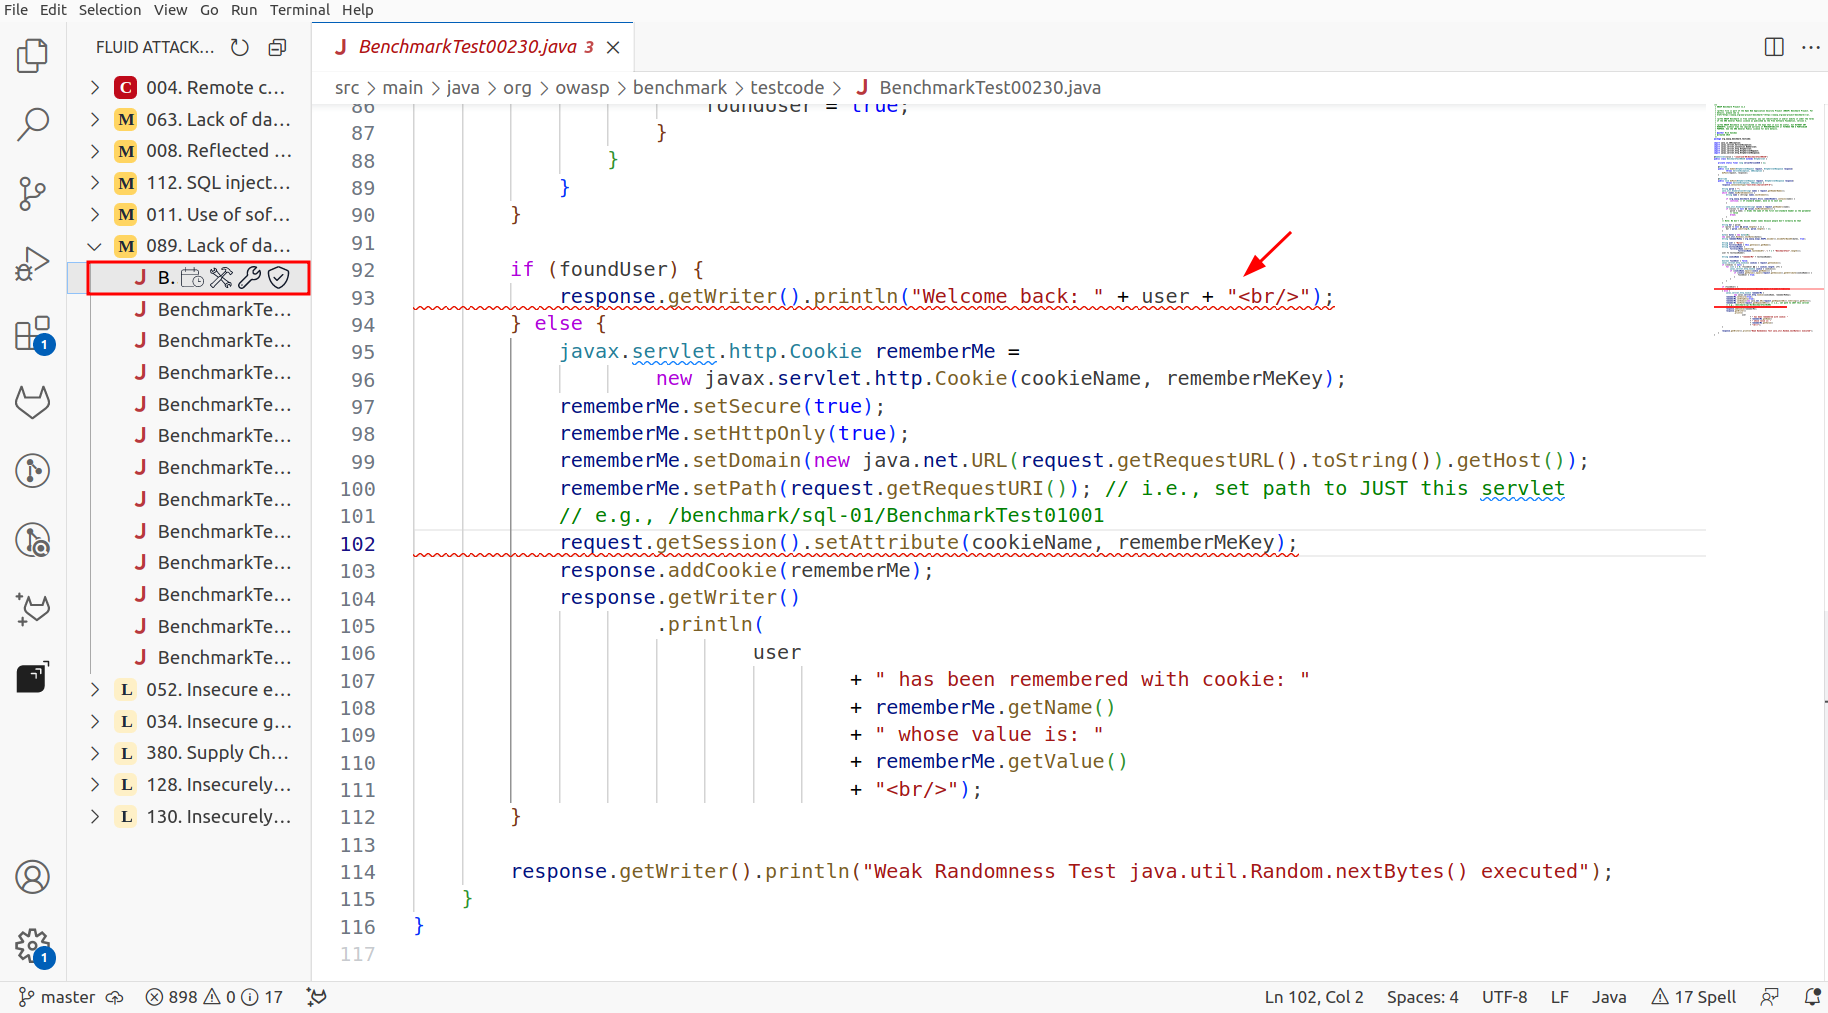
Clicking on any selected vulnerability type will list all the files containing vulnerabilities corresponding to that type.

-
Selecting any of the files will show you the line of code where the vulnerability is present, underlining it with a red line below.
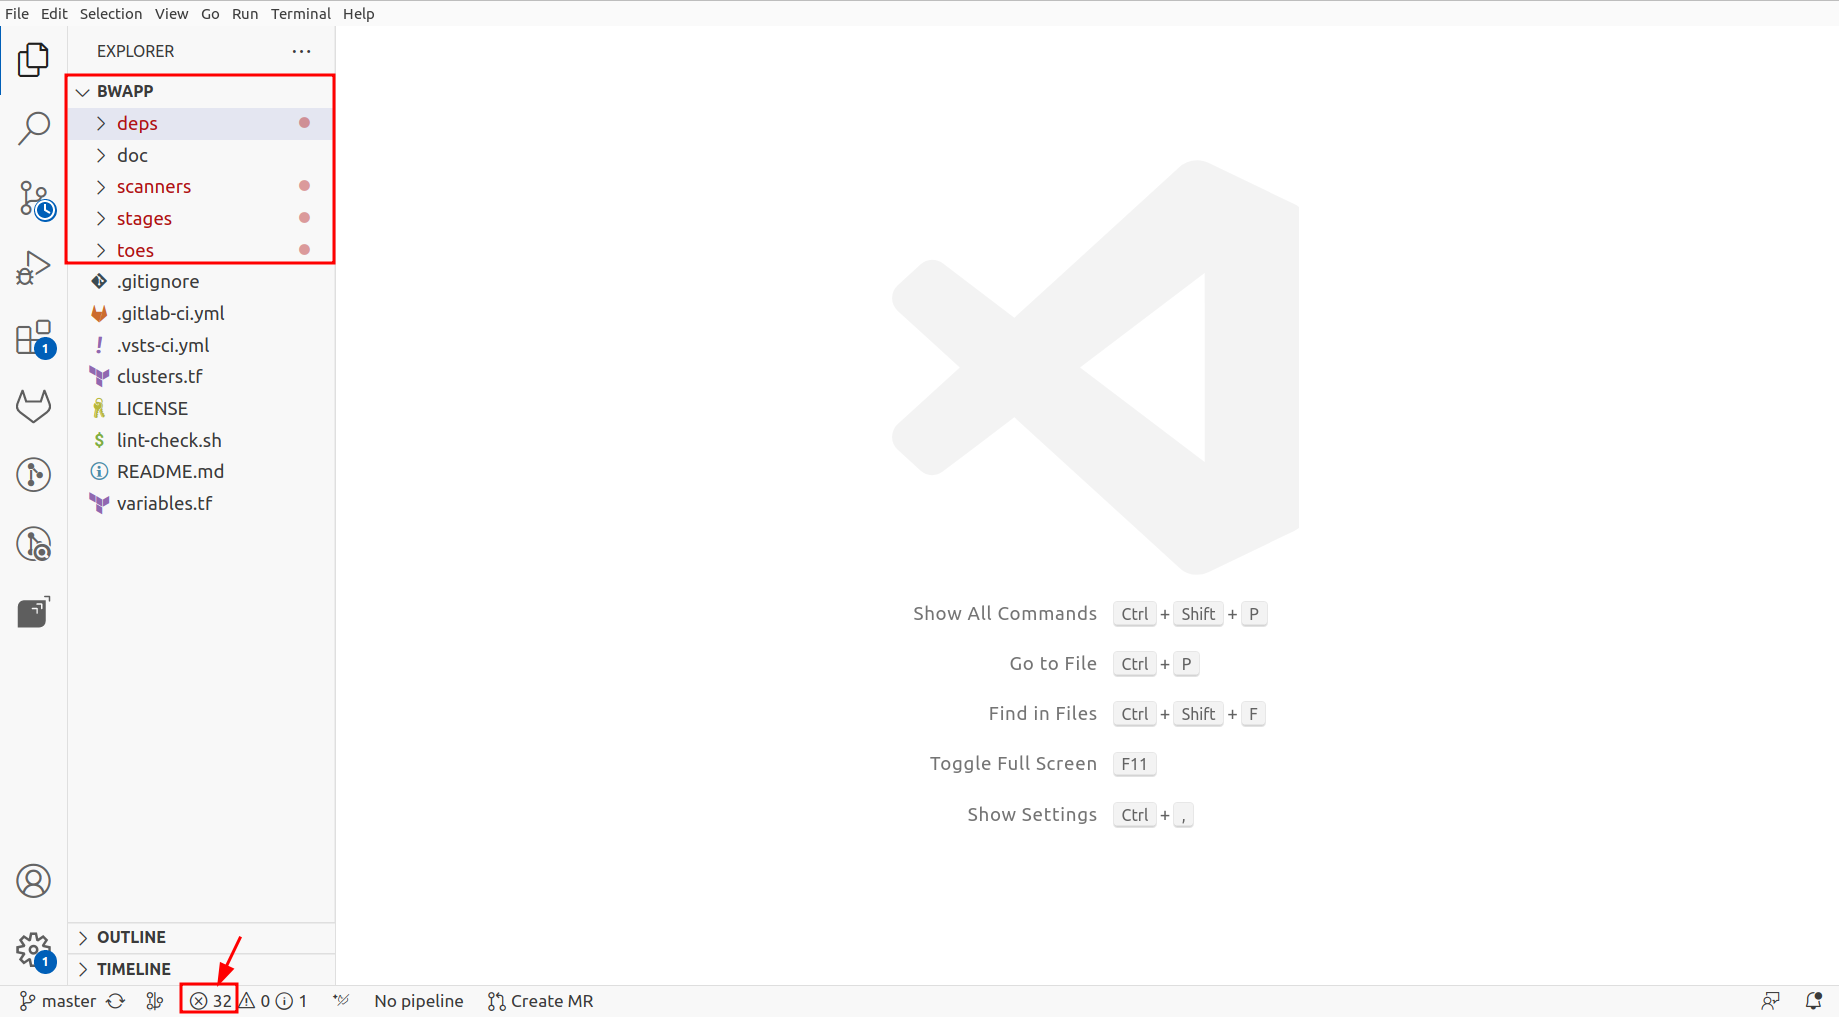
Now through the files what you have to do is the next steps:
-
You have to open the project in which it is active in the vulnerability analysis. You can detect the files since they have red dots or open them directly by file line by clicking on the X symbol.
-
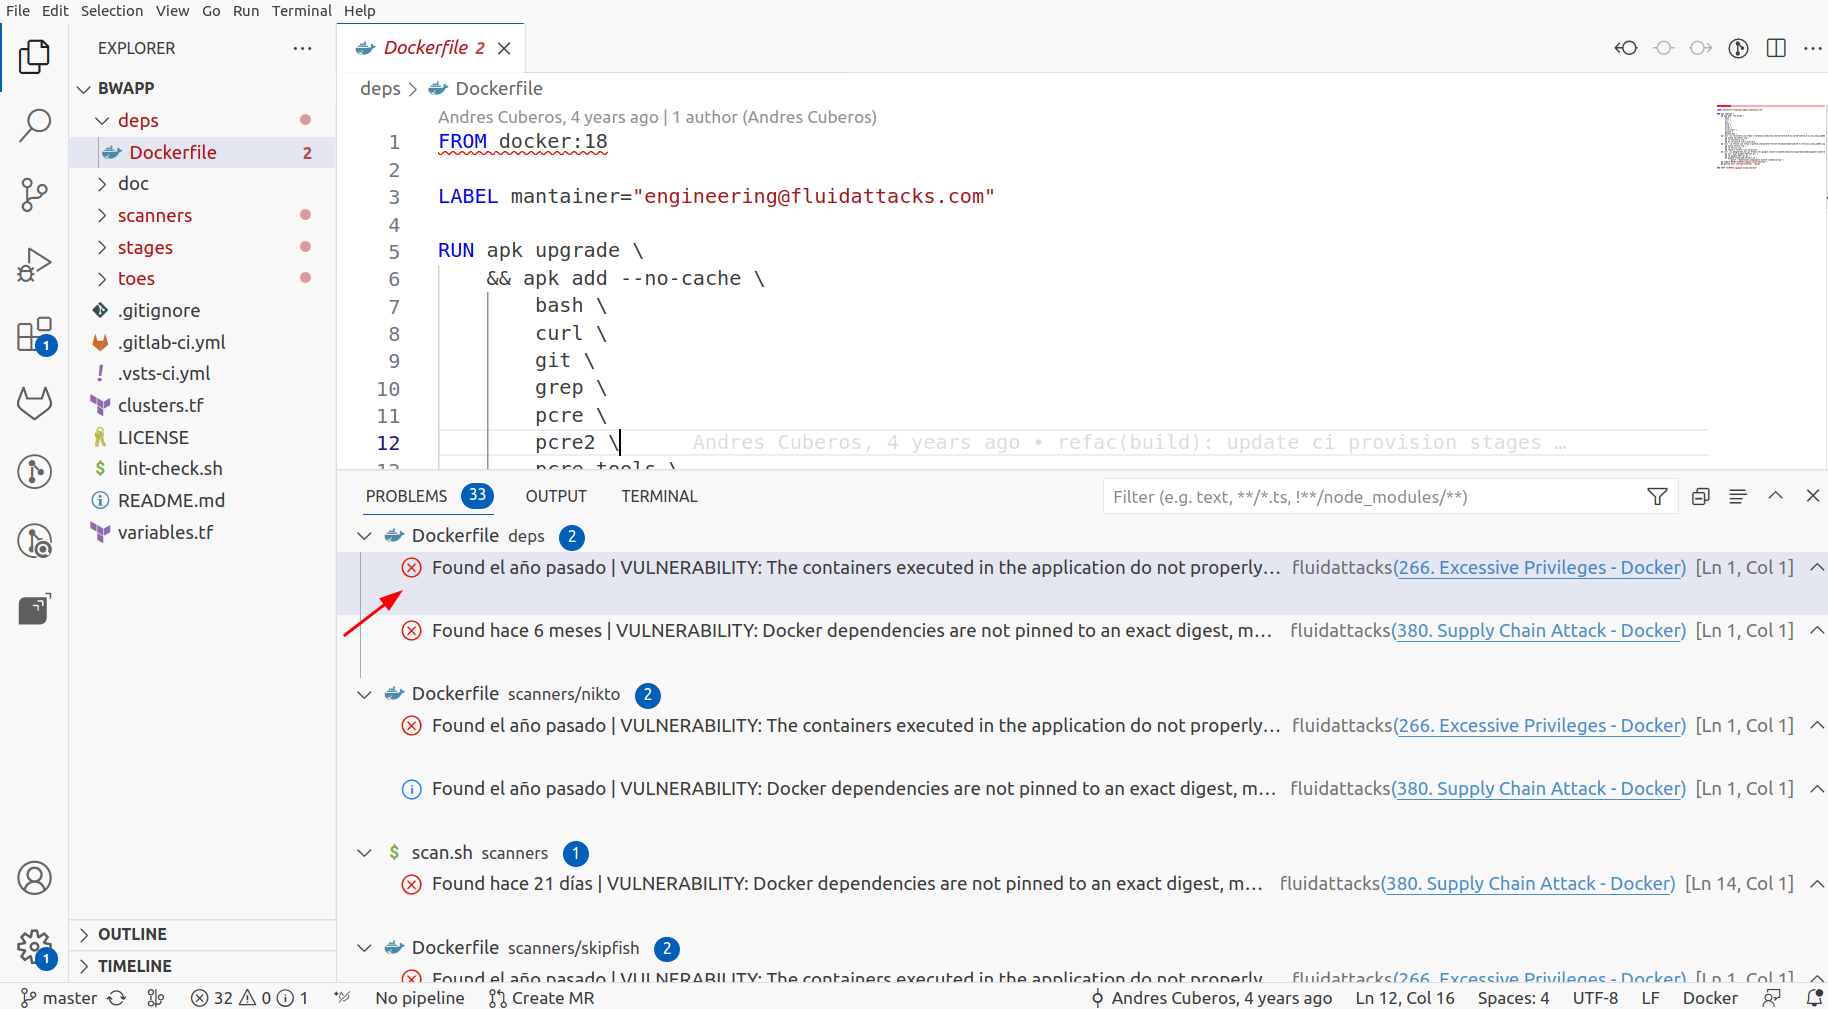
You will see a list of vulnerabilities where you will be redirected to the file and the vulnerable line of code.
Apply Temporarily accepted treatment
The Accepted Vulnerability Temporary treatment can be applied using either of the two methods provided by our extension.
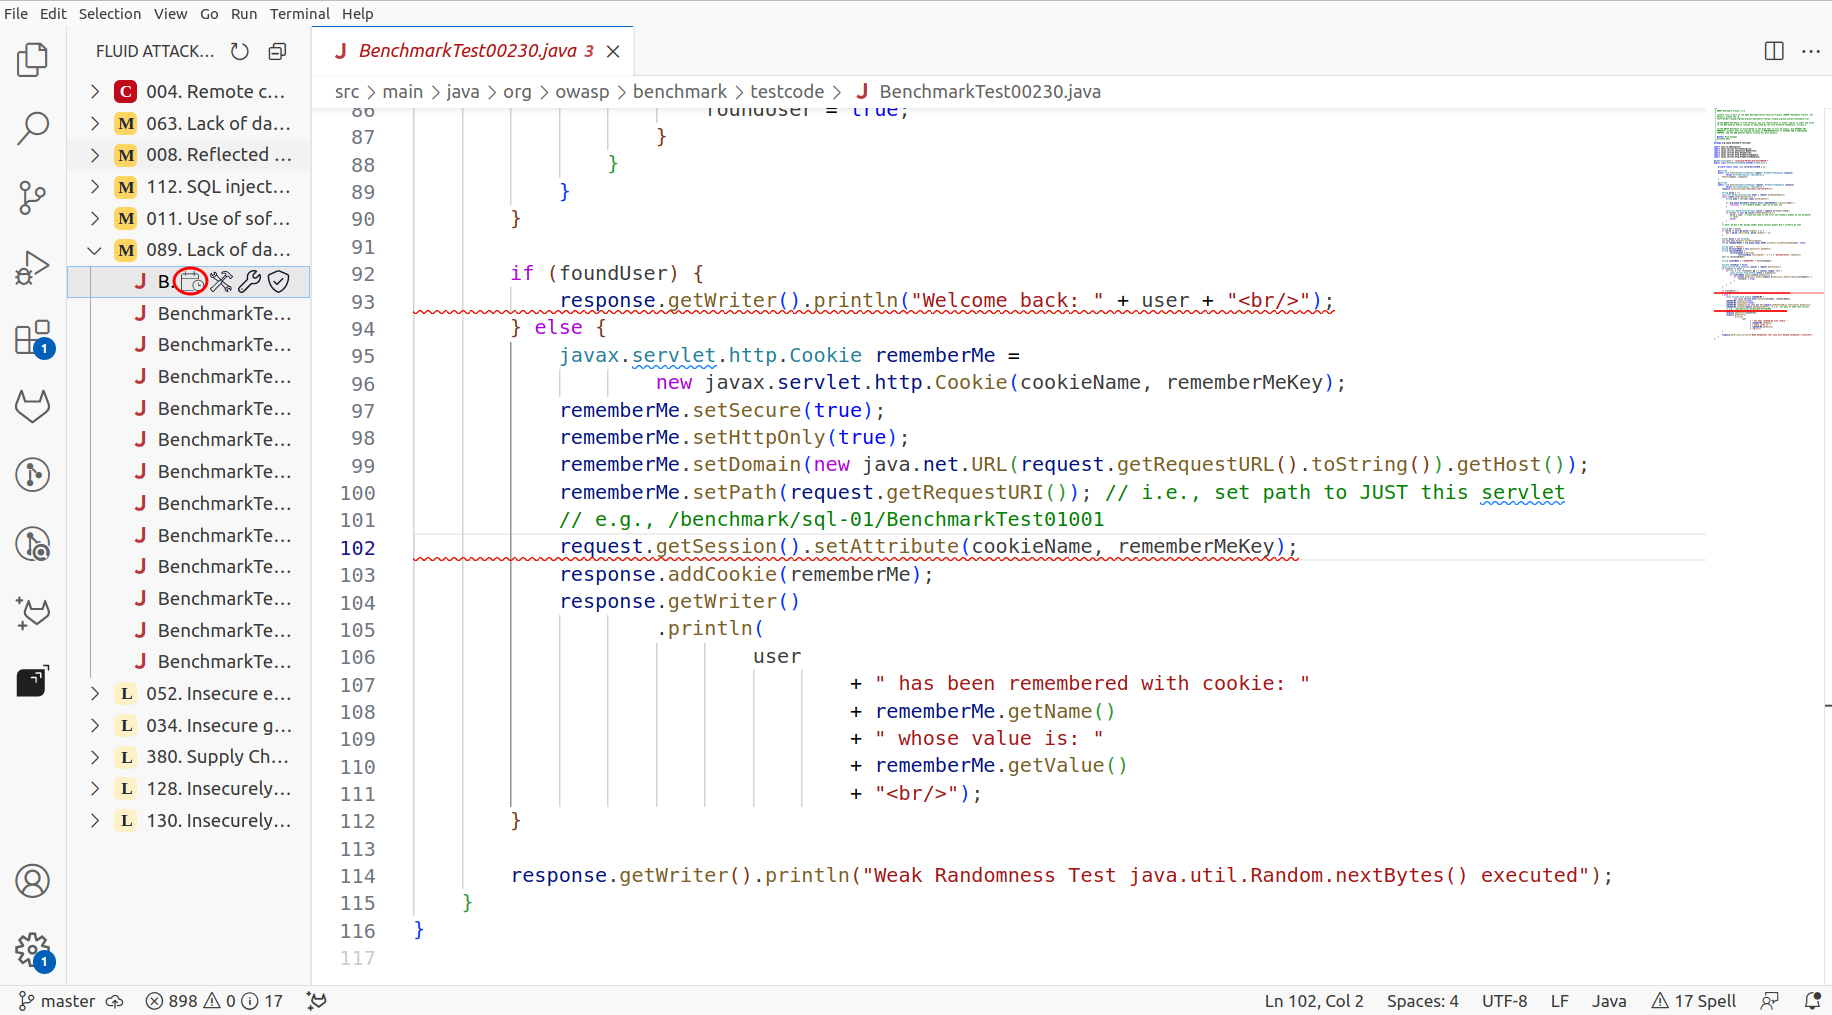
By the icon, you must follow the following steps:
-
If you look at where the files are listed on the right side, you will notice some icons, one of which is a calendar. By clicking on this icon, you can apply the "Accept Vulnerability Temporary" treatment to that vulnerability.
-
Upon applying, you will receive a success message confirming the application of this treatment in your vulnerability. Additionally, you can refresh the view and observe that the underlined vulnerability color changes from red to yellow, indicating that the temporary treatment has been applied.
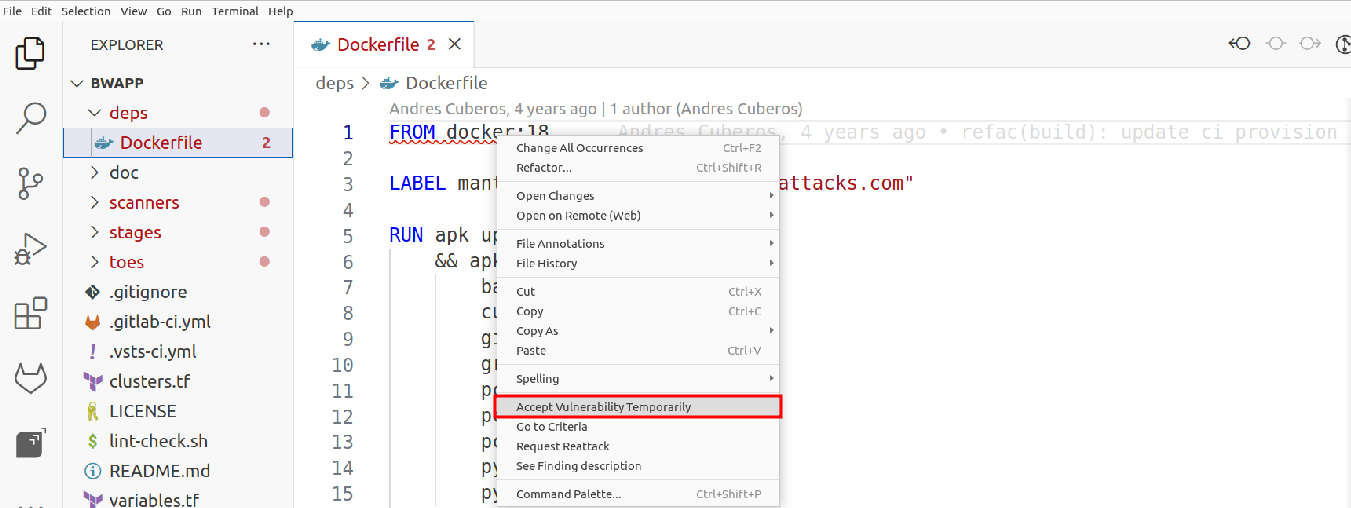
Now, through the files, you must do the below steps:
-
Go to the file and right-click on the line of code, there you will get the option called Accept Vulnerability Temporarily.
-
There you put the justification and the date of the treatment application.
Request reattack
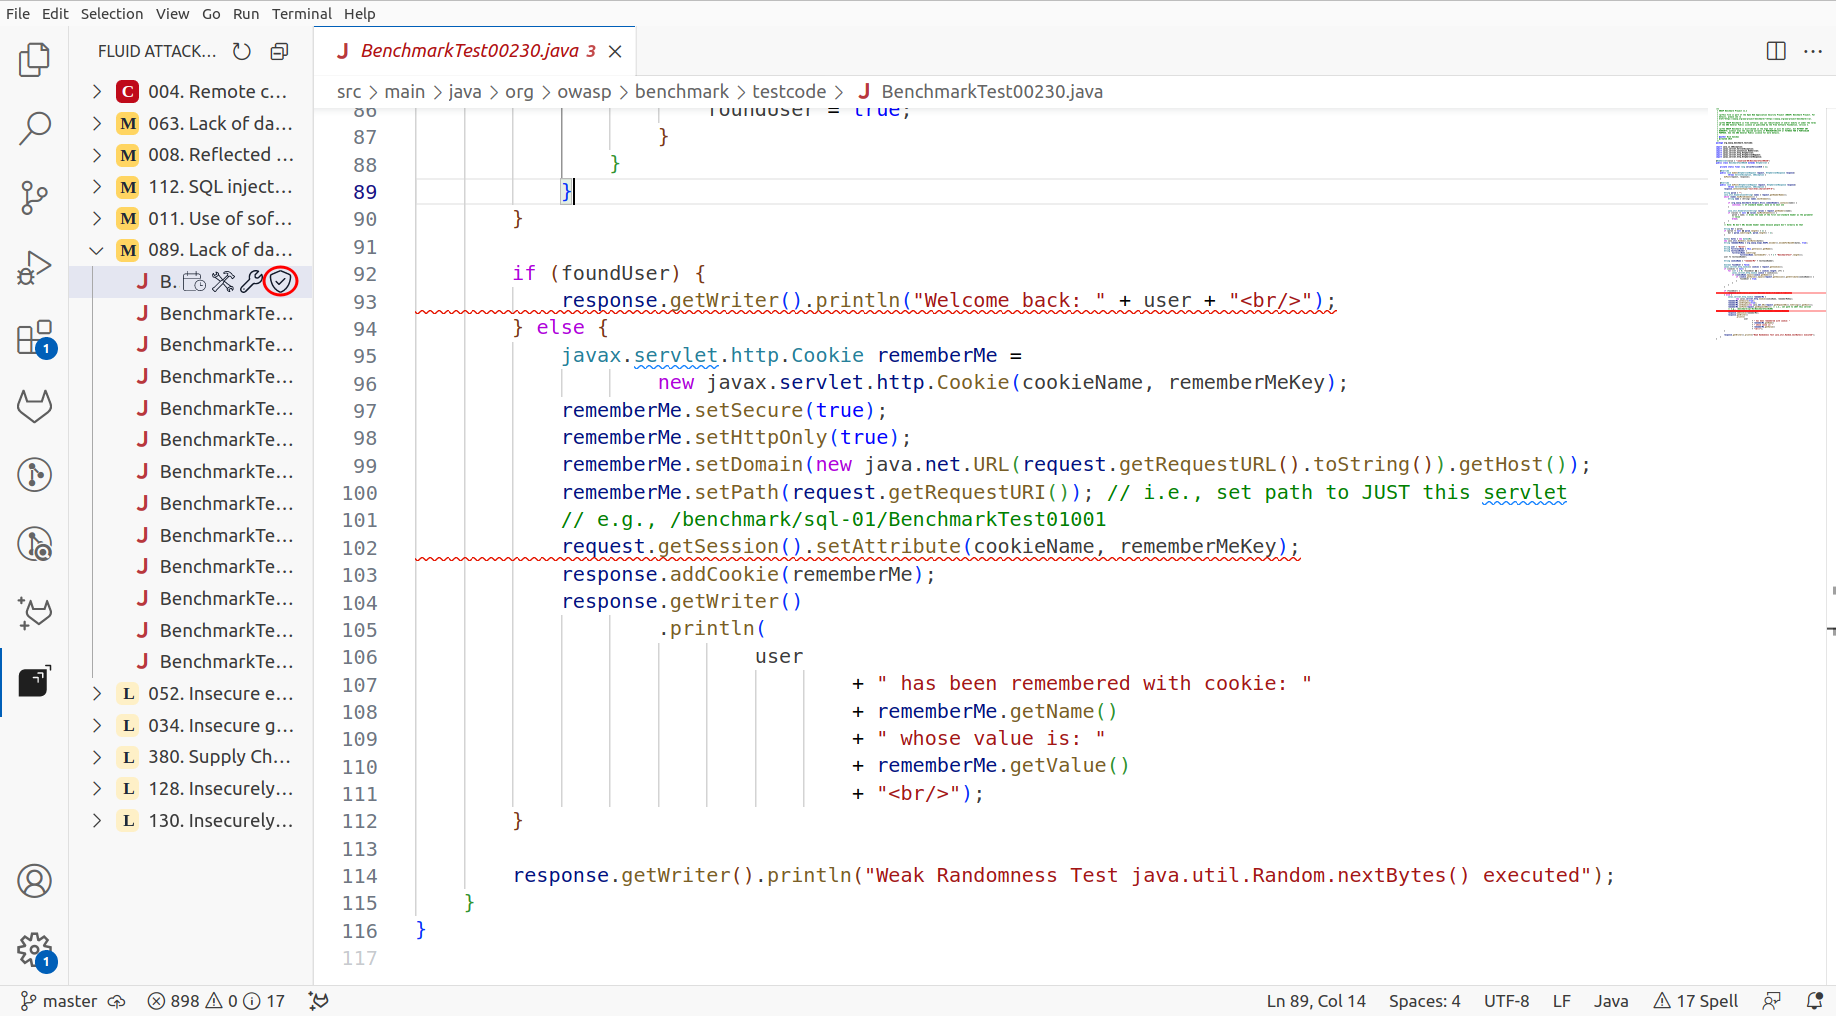
Our extension also includes the feature to request reattacks. To perform this action, follow the steps below using the Fluid icon:
-
Through the shield icon, you can perform the reattack action.
-
You will receive a success message for using this action upon applying it. Additionally, you can refresh the view and observe that the underlined vulnerability color changes from red to blue, indicating that the reattack was successfully requested.
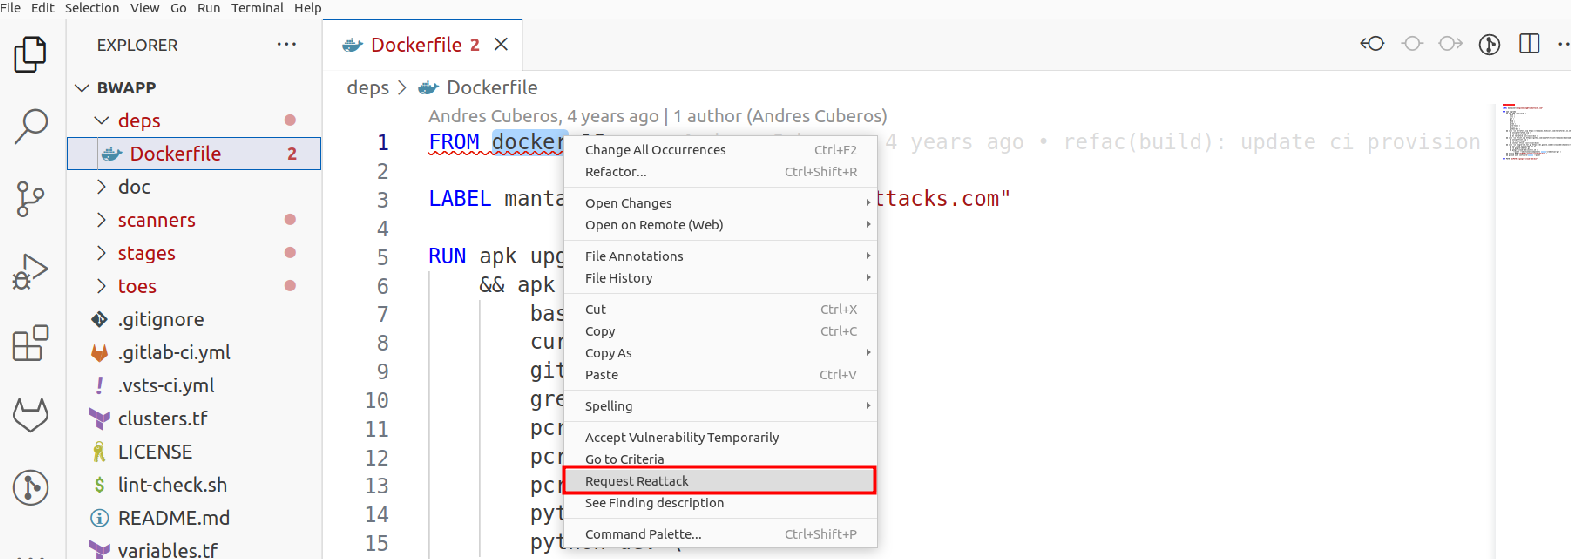
Now, through the file, you must go to the line where the vulnerability is reported, right-click it, and go to the Request Reattack option.
Note: Remember tu push your code to the tests/security/integration branch.
Go to criteria and vulnerability
You can navigate to the criteria or directly to the finding on the platform. Through the Fluid attacks icon, you must right-click on the vulnerability typology title.
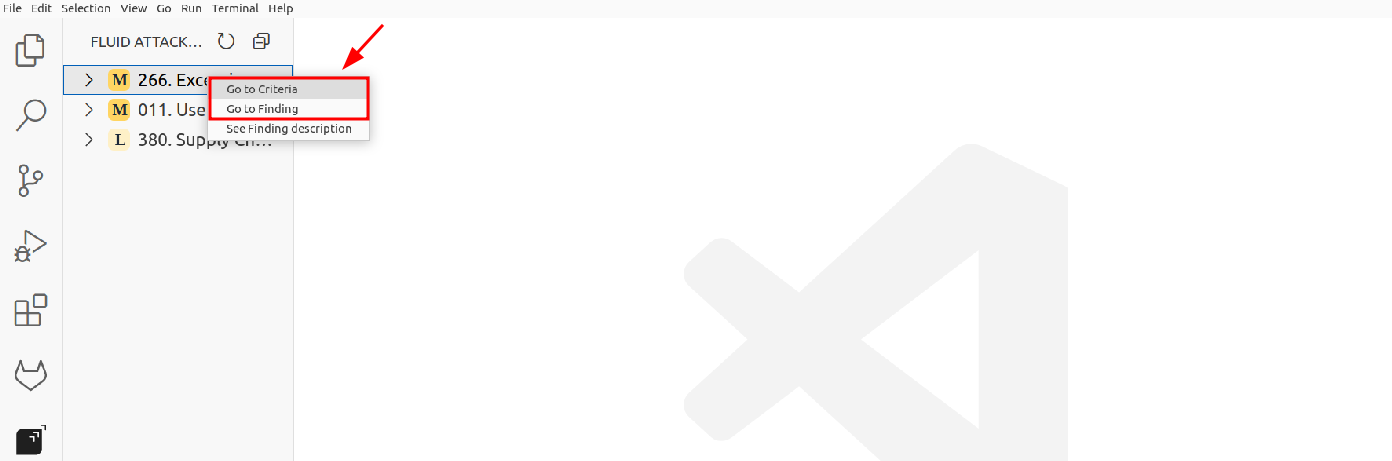
There, you will see these two options. Clicking on "Go to Criteria" will take you to our documentation, and clicking "Go to vulnerability" will redirect you to our platform.
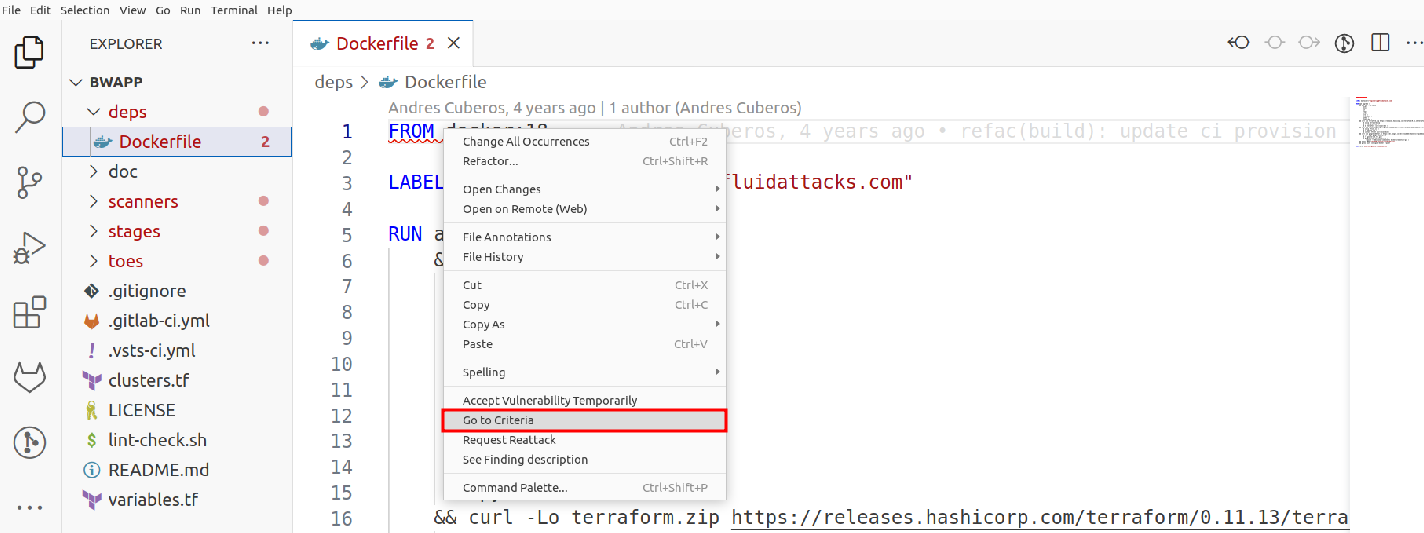
You can also achieve these two actions with the file option. What you have to do is the following:
-
Go to where the file is, on the line marked as vulnerable, right-click, and go to the Clicking on criteria option, which will take you to the documentation.
-
Now to redirect the finding to the platform, you must locate the vulnerable line. Once you have the line of code where the vulnerability is reported, put your mouse cursor over it, and you will get a pop-up window that will give you the definition and the redirection link.
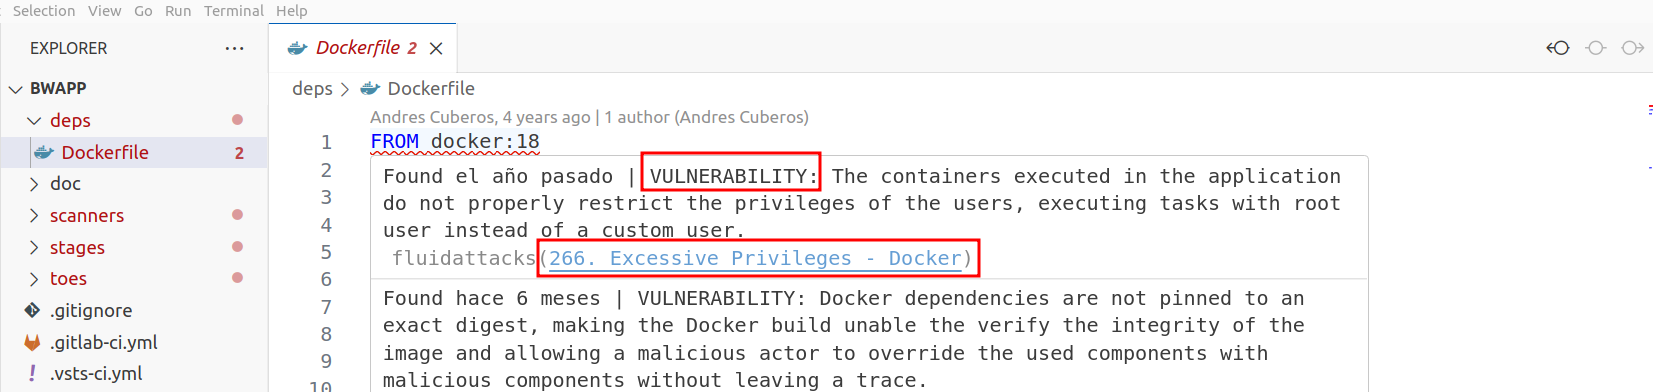
Clicking on the link will open Fluid Attacks platform, where this reported vulnerability is located.
Vulnerability description
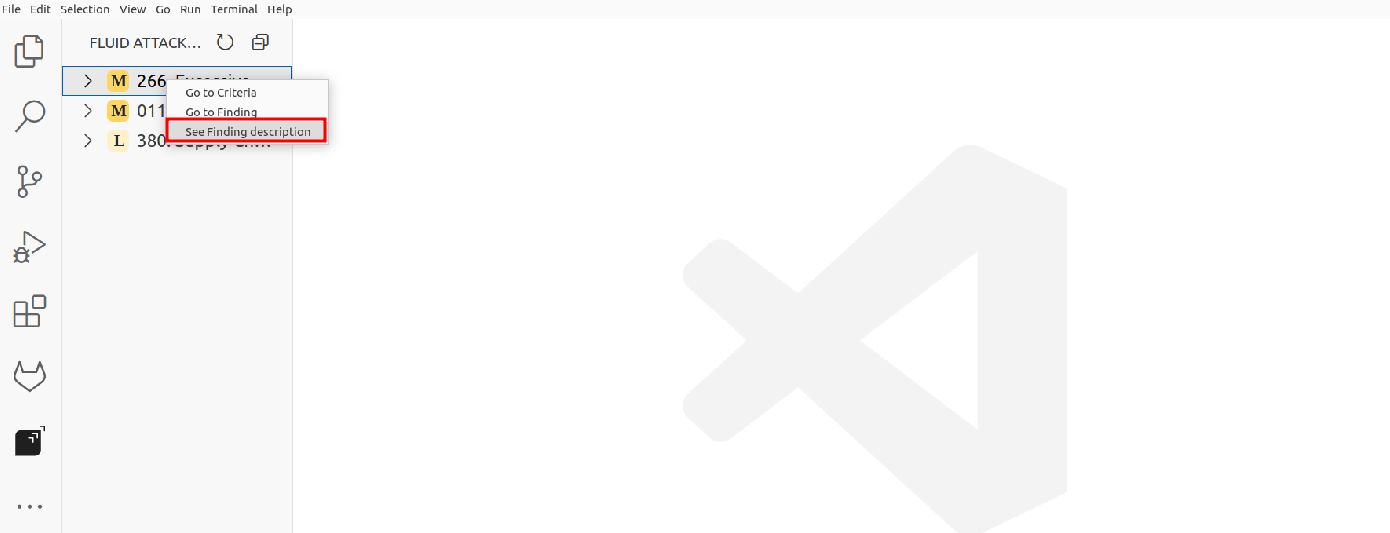
You can view the vulnerability description by right-clicking on the vulnerability and choosing the option "See finding description."
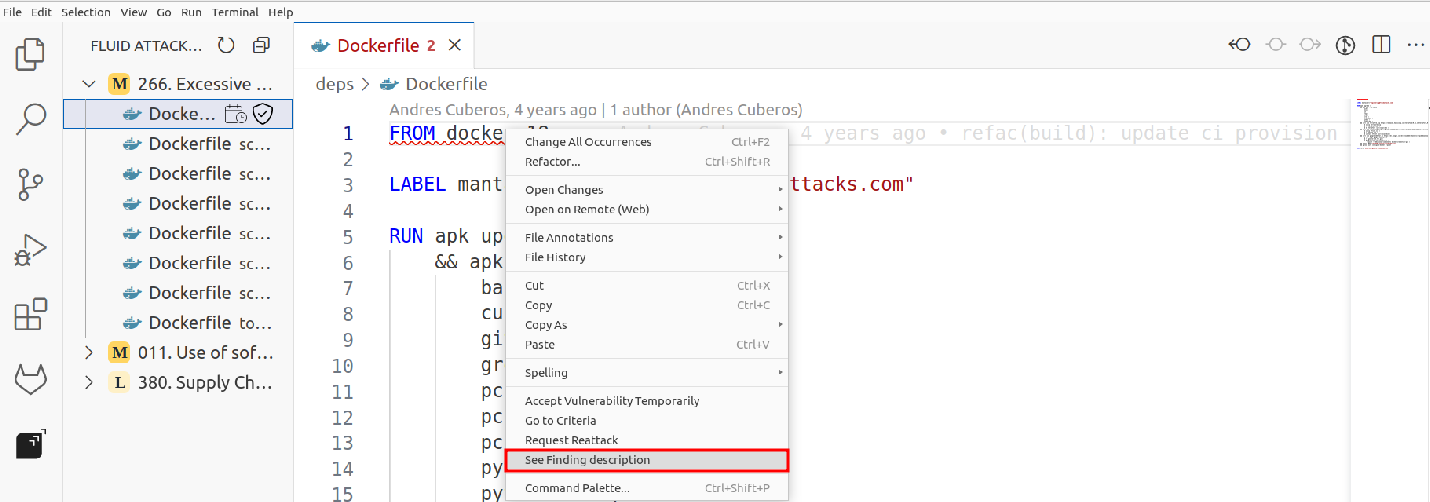
Clicking on this will bring up a tab on the right side, showing you the finding description, Attack Vector, Threat, Severity score, and Average remediation time per vulnerability.

Another way to access this feature is by going to the vulnerability title and right-clicking on it.
There, you will see the description of it.
Note: Two other functions through the Fluid Attacks icon are Custom Fix and Autofix. You have their documentation in their respective link; click on any of these to learn more about them.
Refresh button
If you want to verify that the changes you've made have been applied, you can click on the refresh button.
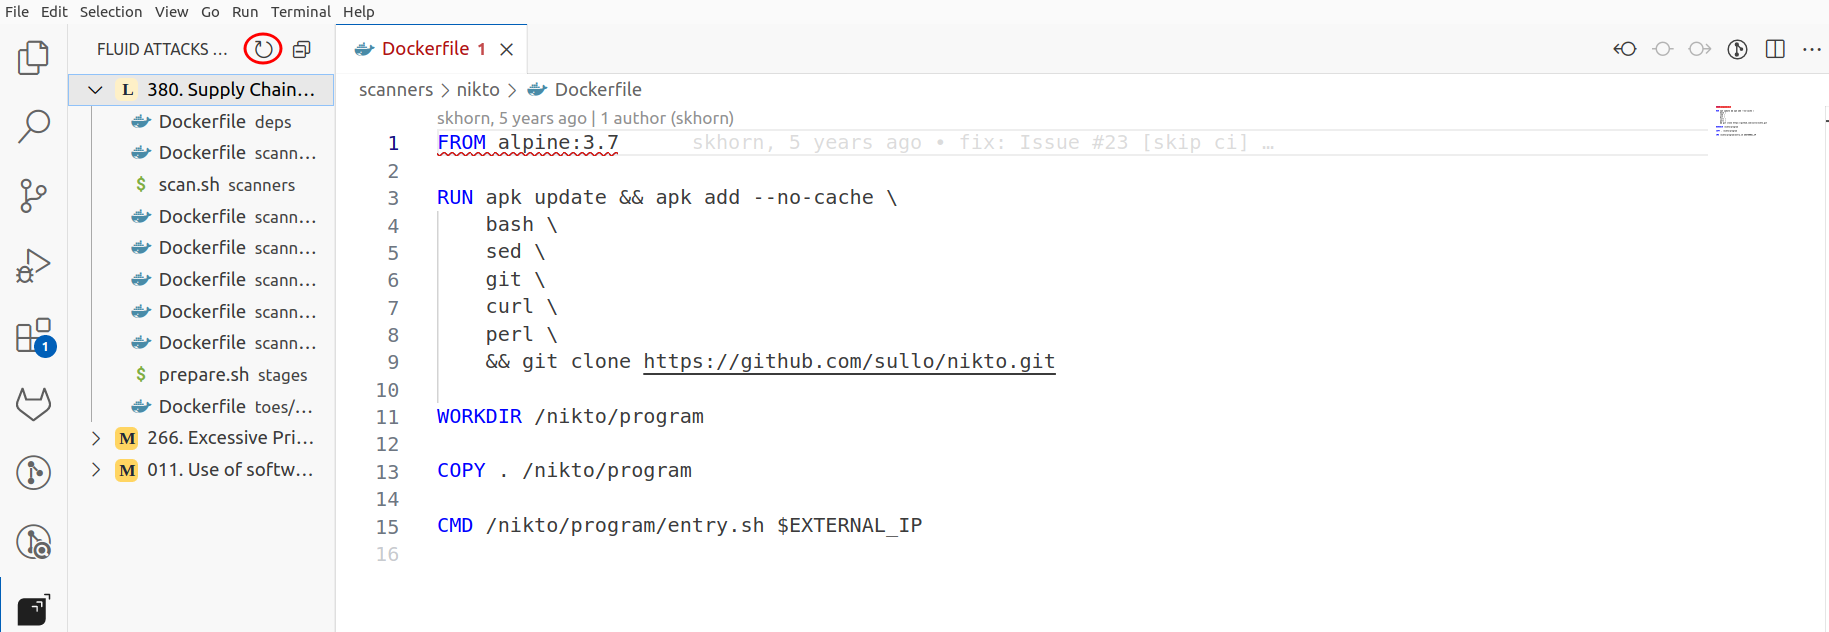
There you can see that the vulnerabilities to which a reattack or temporary treatment has been applied will change the color of their highlighting. A blue line indicates a reattack was requested, while a yellow line indicates a temporary treatment was applied.