Organization-level authors
Last updated: Jun 17, 2026
Role required: Admin, Customer Manager or Resourcer.
Currently, Organization Managers can access the organization-level Authors section in read-only mode.
Your organization's Authors section displays the mailmap containing your contributors. A mailmap is a file that helps organize and unify different email addresses and names used by contributors. It is useful when contributors have used multiple email addresses or names over time, allowing you to show a consistent view of their contributions.
We also invite you to read about the group-level authors.
Understand the Authors section
The organization-level Authors section presents a table where each row corresponds to an author (a contributor within your organization's repositories). Each author is identified by the following:
- Author name: Also known as the canonical name, the primary or preferred name of the contributor
- Author email: Also known as the canonical email, the primary or preferred email address associated with the contributor

To accommodate variations in contributor information, each author can have multiple aliases linked to them. An alias represents an alternative name or email address used by the same contributor. Expand an author's row to view their associated aliases.
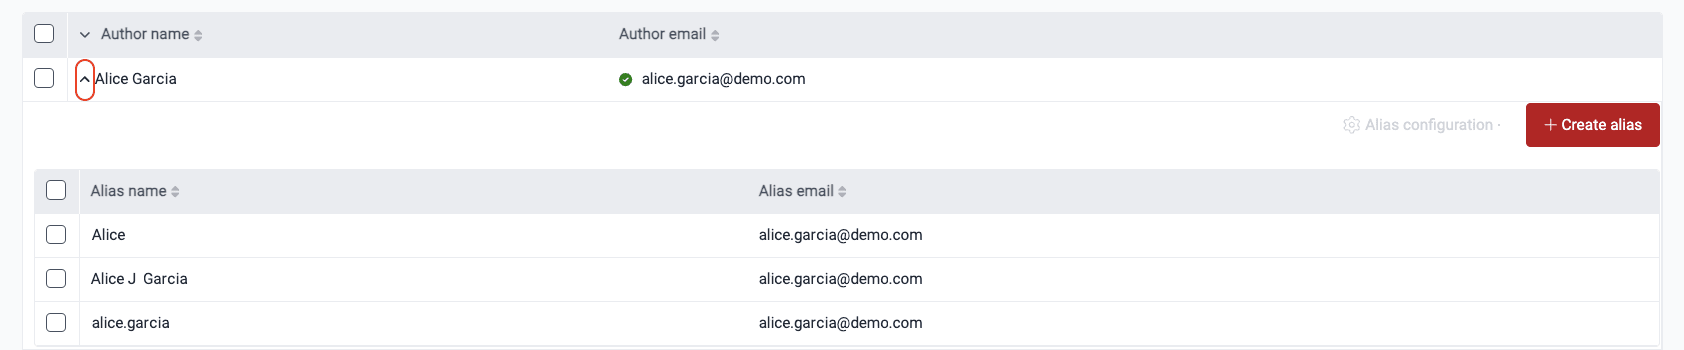
Take a mailmap file with the following entries:
Alice Garcia <[email protected]> Alice Garcia <[email protected]>
Alice Garcia <[email protected]> Alice J Garcia <[email protected]>
These entries look like this in Fluid Attacks' Authors section:

Mailmap rules
These are the rules that must be followed at the time of documenting the mailmap:
- Use the email address of the provider over one of the client.
For example,
use
<[email protected]>overEduardo Garcia <[email protected]>orEduardoGarcia <[email protected]>. - Do not map by default a non-corporate email
such as
userdeveloper <[email protected]>. - In order to map a non-corporate email to a corporate one, a written request from the client is required.
Authors section functionalities
Create author
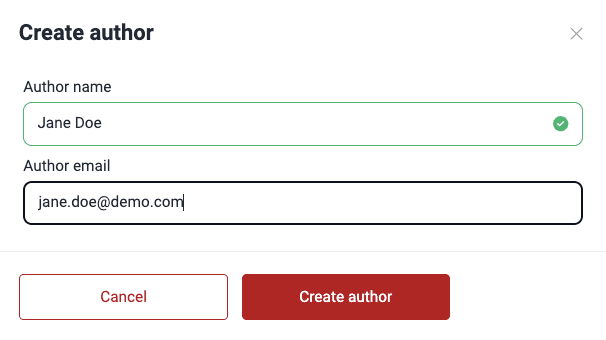
To create an author, click the Create author button and enter the author's name and email. After creating an author, an alias with the same details is automatically created. You can update this alias later if needed.
(a) Each author within an organization must have a unique email address.
(b) To add additional names or email addresses associated with an existing
author, create aliases instead of new authors.
(c) The unique email constraint simplifies searching for authors using the
search bar or filters.
Update author
To update an author, follow these steps:
-
Select the author whose information you want to update by clicking their corresponding checkbox.
-
Click on Author configuration.
-
Select the Update author option.

-
Modify the author's name and email in the pop-up window.
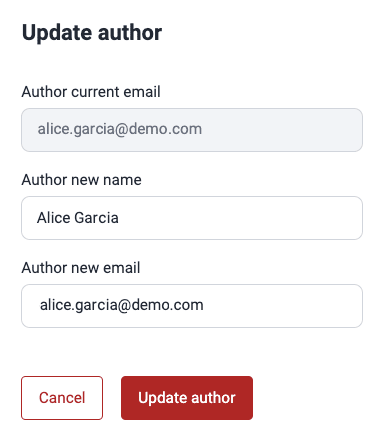
-
Click on Update author when you are done to apply the changes.
Delete author
Follow the steps below to delete an author. You can only delete one author at a time.
-
Click the checkbox next to the author you want to delete.
-
Click on Author configuration.
-
Select the Delete author option.

-
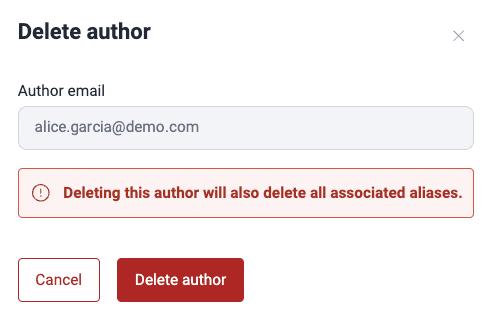
Confirm deletion in the pop-up window by clicking Delete author.
-
Click on Update author when you are done to apply the changes.
Deleting an author also deletes all associated aliases.
Set author as alias
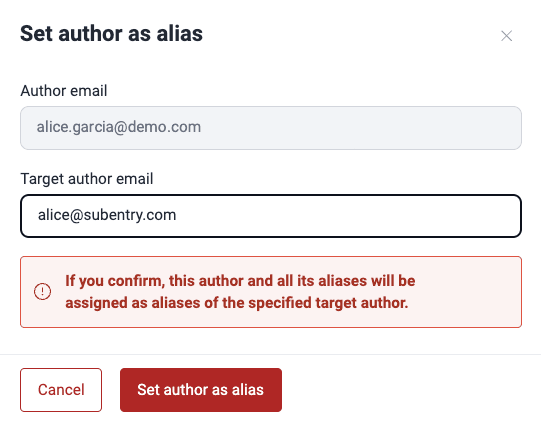
This feature allows you to merge two authors into one, consolidating their contribution history under a single author. To set an author entry as alias, do the following:
-
Select the author you want to merge by checking their corresponding checkbox.
-
Click on Author configuration and then on Set author as alias.

-
In the form, enter the target author's email (the author with whom you want to merge the selected author).
-
Confirm the merge by clicking Set author as alias. The selected author and all their aliases are then added as aliases under the target author.

A caution icon next to the author email, as shown in the screenshot above, signifies that one or more domains in alias email do not match that of the author email.
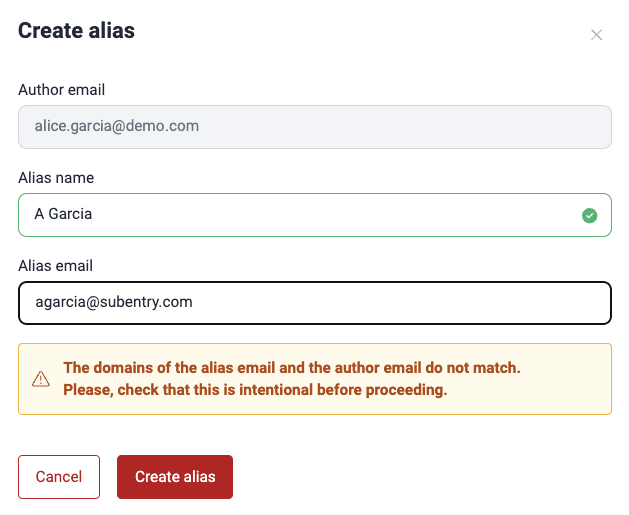
Create alias
Follow these steps to create an alias under an author:
-
Locate the author you want to add an alias to and expand their row.
-
Click the Create alias button found in the expanded row.

-
In the pop-up window, enter the alias name and email address.
-
Click on Create alias to confirm.
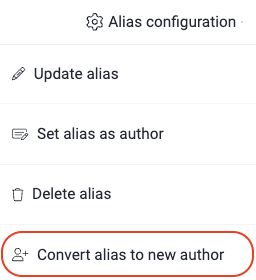
Update alias
To update an alias follow these steps:
-
Select the alias you want to update by clicking its corresponding checkbox.
-
Click the Alias configuration button and select the Update alias option.

-
Update the alias details.

-
Click on Update alias to confirm.
Currently, search functionality is limited to authors. To locate a specific alias, you need to know the details of its associated author and use the search bar or filters to find that author.
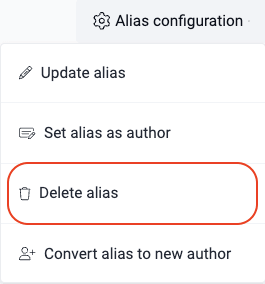
Delete alias
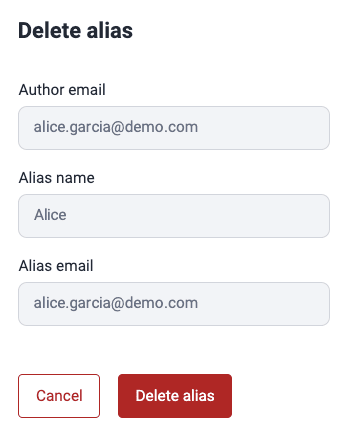
Below are the steps to delete an alias. You can only delete one alias at a time.
-
Select the alias you want to delete by clicking its corresponding checkbox.
-
Click on Alias configuration and then on the Delete alias option.
-
Confirm alias deletion in the pop-up window by clicking on Delete alias.
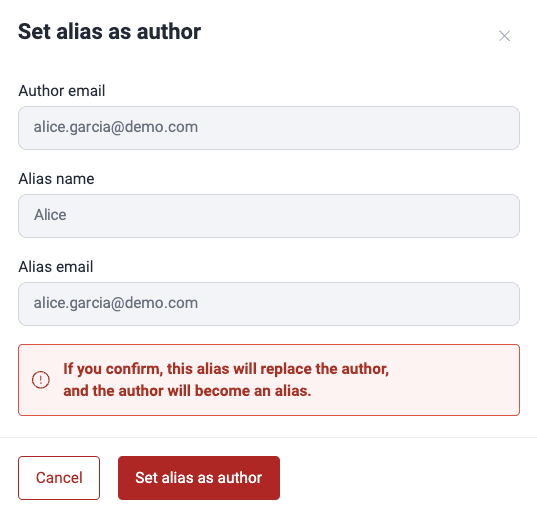
Set alias as author
This functionality allows you to swap places between alias information and author information, making the former alias information the primary identifier for that contributor.
-
Select the alias entry that you would like to swap places with the author entry.
-
Click on Alias configuration and select Set alias as author.

-
Click Set alias as author to confirm the change.
Create author from alias
You can choose an alias and convert it to an author. These are the steps to achieve it:
-
Select the alias entry that you want to transform into an author entry.
-
Click on Alias configuration and select Convert alias to new author.
-
In the confirmation window, indicate, if you wish, which related aliases to migrate to the new author.
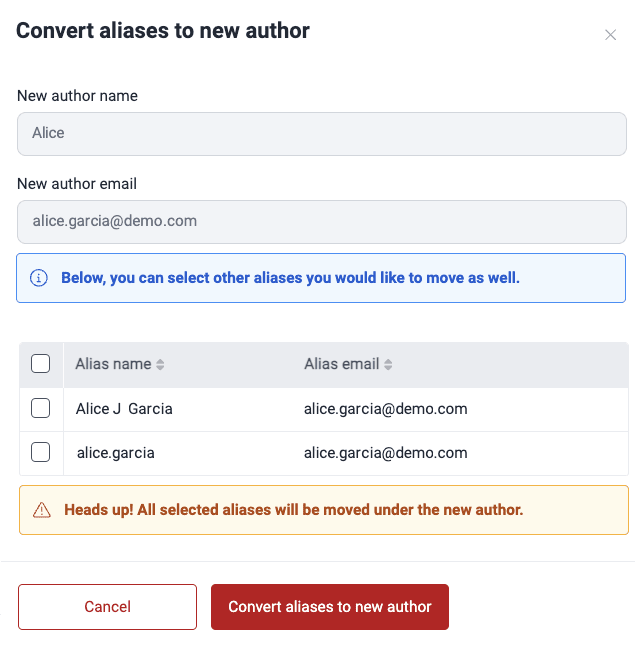
-
Click on Convert aliases to new author when you are done.
Filter authors
To limit the information displayed to you, use the filter button. This feature lets you filter by author name, author email, alias name, and alias email.


Group-level authors
Learn how to view, filter, and manage authors (contributing developers) on the Fluid Attacks platform to enhance collaboration quality and security.
Repositories
Efficiently manage Git repositories, IP Roots, and URL Roots for comprehensive security testing with Fluid Attacks. Add, edit, and exclude repos to tailor your scope.